
Keeping PHP current is one of the most important maintenance tasks for a WordPress website. PHP is the server-side programming language that WordPress runs on, and outdated versions can expose your site to security risks, performance problems, and compatibility issues. Updating it safely requires planning, backups, testing, and a clear rollback option.
TLDR: Before updating PHP in WordPress, create a full backup and check that your theme, plugins, and WordPress core are up to date. Test the new PHP version on a staging site whenever possible, then update PHP through your hosting control panel. After the update, review your site carefully for errors, broken layouts, plugin issues, and admin dashboard problems.
Why Updating PHP Matters
PHP updates are not just technical housekeeping. They directly affect the security, speed, and reliability of your WordPress site. Older PHP versions eventually stop receiving security fixes, which means vulnerabilities may remain unpatched. A site running an unsupported PHP version can become easier to compromise, especially if it also uses outdated plugins or themes.
Performance is another important reason. Newer PHP versions often handle requests faster and use server resources more efficiently. For many WordPress sites, updating PHP can reduce page load times without changing hosting plans or redesigning the website. This can improve user experience and may also support better search engine performance.
However, updating PHP should not be done casually. Some older plugins, custom code, or themes may not work correctly with newer PHP versions. A safe update process helps you identify and resolve these problems before they affect visitors.

Step 1: Check Your Current PHP Version
Start by confirming which PHP version your site currently uses. In many WordPress installations, you can find this information by going to Tools > Site Health > Info > Server in the WordPress admin dashboard. Look for the PHP version listed there.
You may also find it in your hosting account, usually in a section called PHP Manager, MultiPHP Manager, Server Settings, or similar. If you are not sure where to look, contact your hosting provider and ask them to confirm your site’s current PHP version and the versions available for upgrade.
As a general rule, you should use a PHP version that is officially supported and compatible with your version of WordPress. Before choosing the newest available version, check WordPress requirements and confirm that your active plugins and theme support it.
Step 2: Update WordPress Core, Themes, and Plugins First
Before changing the PHP version, update WordPress itself, along with all trusted plugins and themes. Developers often release compatibility updates before or shortly after major PHP releases. Running old plugin code on a new PHP version increases the risk of fatal errors, broken features, or warnings appearing on your site.
Use this checklist before moving forward:
- Update WordPress core to the latest stable version.
- Update all active plugins from reputable sources.
- Update your active theme and any required companion plugins.
- Remove unused plugins and themes to reduce compatibility risks.
- Review plugin documentation for PHP compatibility notes.
If your site relies on custom plugins or a custom theme, ask the developer to verify compatibility before you continue. This is especially important for business-critical websites, eCommerce stores, membership platforms, and sites with complex integrations.
Step 3: Create a Complete Backup
Never update PHP without a reliable backup. A safe backup includes both the website files and the database. The files contain WordPress core, themes, plugins, uploads, and custom code. The database contains posts, pages, settings, users, orders, and other dynamic content.
Use a trusted backup plugin, your hosting provider’s backup system, or a manual backup method through your control panel and database manager. After creating the backup, make sure you know how to restore it. A backup is only useful if it can be recovered quickly and correctly.
For important websites, store a copy of the backup somewhere separate from your hosting account, such as secure cloud storage. If a server-level problem occurs, an external copy gives you more control.
Step 4: Use a Staging Site Whenever Possible
A staging site is a private copy of your website used for testing changes before they go live. If your hosting provider offers staging, use it. This is one of the safest ways to test a PHP update because visitors will not see errors if something breaks.
On the staging site, update PHP to the target version and then inspect the site carefully. Test the homepage, important landing pages, contact forms, checkout process, login pages, search functions, and any custom features. Also check the WordPress admin area to confirm that editing, saving, uploading media, and plugin settings still work properly.
If you find problems, do not update the live site yet. Instead, identify the cause. A plugin may need an update, a theme may need a patch, or old custom code may need to be revised. Testing first helps prevent downtime and protects revenue, leads, and user trust.
Step 5: Check Compatibility Before Switching
Many PHP update problems are caused by abandoned plugins or themes. If a plugin has not been updated for a long time, has poor reviews, or is no longer maintained, consider replacing it before updating PHP. Security and compatibility issues are more likely when software is no longer actively supported.
You can also enable WordPress debugging on a staging site to reveal warnings and deprecated code notices. However, debugging should be handled carefully and should not display errors publicly on a live website. If you are not comfortable reading error logs, ask your developer or hosting support team for help.
For WooCommerce or other transactional websites, compatibility testing should be more thorough. Confirm that payments, emails, account pages, shipping calculations, subscriptions, and tax rules still work as expected.
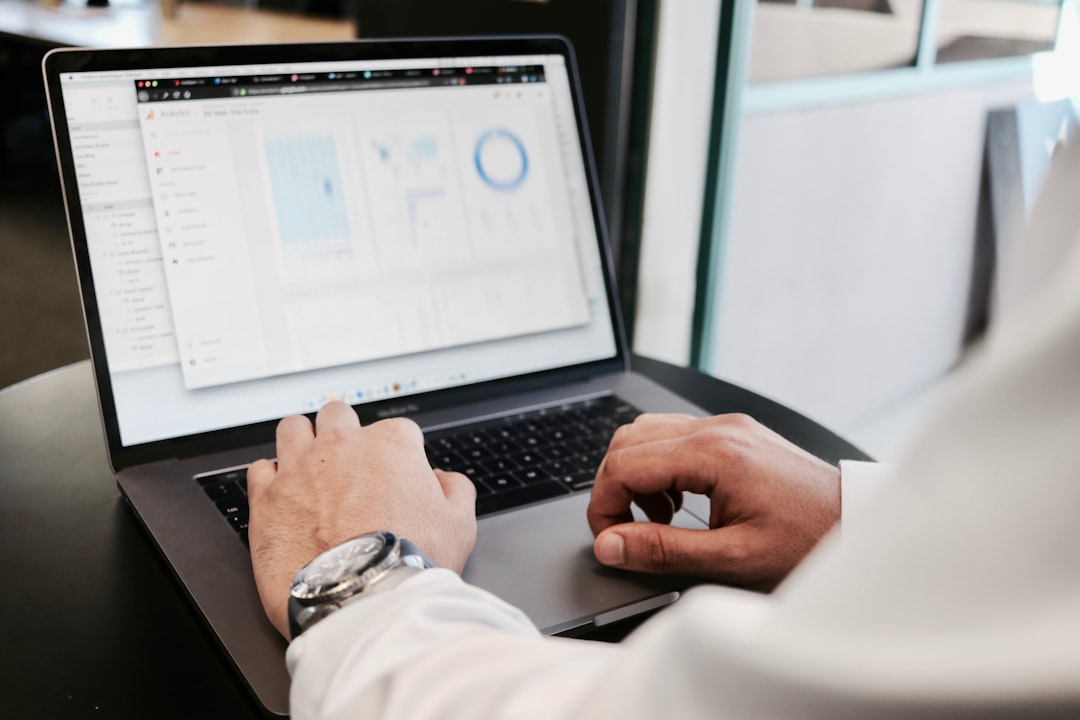
Step 6: Update PHP Through Your Hosting Account
Most website owners update PHP through their hosting control panel. The exact steps depend on the host, but the process usually involves selecting your domain, choosing a PHP version from a menu, and saving the change.
A typical process looks like this:
- Log in to your hosting control panel.
- Find the PHP settings area, such as PHP Manager or MultiPHP Manager.
- Select the domain or website you want to update.
- Choose the target PHP version.
- Apply the change and wait for it to take effect.
- Clear site, plugin, and server caches if needed.
Some hosts apply the change instantly, while others may take a few minutes. If you use managed WordPress hosting, the provider may handle PHP updates for you or offer a one-click PHP version switcher. If you are unsure, contact support before making changes.
Step 7: Test the Live Site Immediately
After the PHP update, test the live site right away. Do not assume that everything is working just because the homepage loads. Visit several pages and perform real user actions. Submit forms, test search, log in, check menus, review mobile layouts, and confirm that images and scripts load correctly.
In the WordPress admin area, check whether pages can be edited and saved. Review plugin screens for warnings or errors. If you run an online store, place a test order if possible, or use a sandbox payment method to verify the checkout flow.
Also check your server error logs. Some problems do not appear visibly on the front end but may still generate repeated warnings or errors. These logs can help identify plugins or theme files that need attention.
What to Do If Something Breaks
If your site shows a critical error, blank screen, broken layout, or malfunctioning feature, stay calm and follow a structured rollback plan. First, return to the previous PHP version through your hosting control panel if that option is available. In many cases, this restores the site immediately.
If switching PHP back does not resolve the issue, restore your backup or contact your host for assistance. Then investigate the cause on a staging site rather than experimenting on the live website. Disable plugins one at a time, switch temporarily to a default WordPress theme, and review error logs to isolate the conflict.
Recommended Ongoing Maintenance
PHP updates should be part of a broader maintenance routine. Review your site at least monthly for available WordPress, plugin, and theme updates. Remove software you no longer use, monitor security alerts, and keep regular backups scheduled automatically.
It is also wise to avoid waiting until a PHP version is already unsupported. Plan updates in advance, especially for larger websites. A controlled update is far safer than an urgent update performed under pressure because a host is retiring an old PHP version.
Final Thoughts
Updating PHP in WordPress safely is a careful process, not a risky guess. The key steps are straightforward: back up the site, update WordPress software, test on staging, switch PHP through hosting, and verify everything afterward. When handled properly, a PHP update can make your site faster, more secure, and better prepared for future WordPress improvements.
If your website supports a business, processes payments, or contains custom development, consider involving a qualified developer or managed hosting support team. The cost of careful preparation is usually far lower than the cost of unexpected downtime, lost orders, or a damaged user experience.