

A Keurig coffee maker is often the unsung hero of busy mornings. So when it suddenly refuses to turn on, it can feel like your entire routine grinds to a halt. The good news? In most cases, a Keurig that won’t power up doesn’t mean it’s permanently broken. Many common issues are surprisingly simple to diagnose and fix at home with just a few basic checks.
TL;DR: If your Keurig won’t turn on, start by checking the power source, outlet, and power cord. Resetting the machine, inspecting for internal overheating, and cleaning clogged components can often solve the issue. In some cases, a faulty power button or internal fuse may be to blame, which may require deeper troubleshooting or professional repair. Most problems are easy fixes and don’t require replacing the entire machine.
1. Check the Basics First
Before diving into complicated troubleshooting, start with the obvious. Many Keurig power issues are caused by something simple.
- Ensure it’s plugged in securely. The power cord may appear connected but could be slightly loose.
- Test the outlet. Plug another appliance (like a toaster or phone charger) into the same outlet to confirm it works.
- Inspect the power strip. If your Keurig is connected to one, ensure it’s switched on and functioning properly.
Sometimes a tripped circuit breaker is the culprit. Check your home’s breaker panel and reset it if necessary.
2. Perform a Basic Power Reset
Like many small appliances, Keurig machines can benefit from a reset. Power surges or internal errors may cause the machine to appear completely dead.
Here’s how to perform a simple reset:
- Unplug the machine from the wall.
- Remove the water reservoir.
- Wait at least 5 minutes.
- Plug it back in and power it on.
For certain models with touch screens or digital displays, holding down the power button for 10 seconds may help trigger a reset.
3. Inspect the Power Cord
A damaged or faulty power cord can prevent your Keurig from turning on altogether.
Look for:
- Visible cuts or fraying
- Bent or exposed wires
- Burn marks near the plug
If you notice damage, stop using it immediately. Replacing the cord (if detachable) is safer than attempting a DIY repair. If the cord is built-in, professional servicing may be necessary.
4. Check for Overheating Issues
Keurig machines have internal thermal sensors that automatically shut off the unit if it overheats. This safety feature prevents electrical damage or fire hazards.
If your machine:
- Recently brewed multiple cups back-to-back
- Was running for an extended period
- Feels warm to the touch
It may have overheated and shut itself down.
Fix: Unplug the unit and let it cool down for 30 minutes to an hour. Once cooled, plug it back in and test the power button.

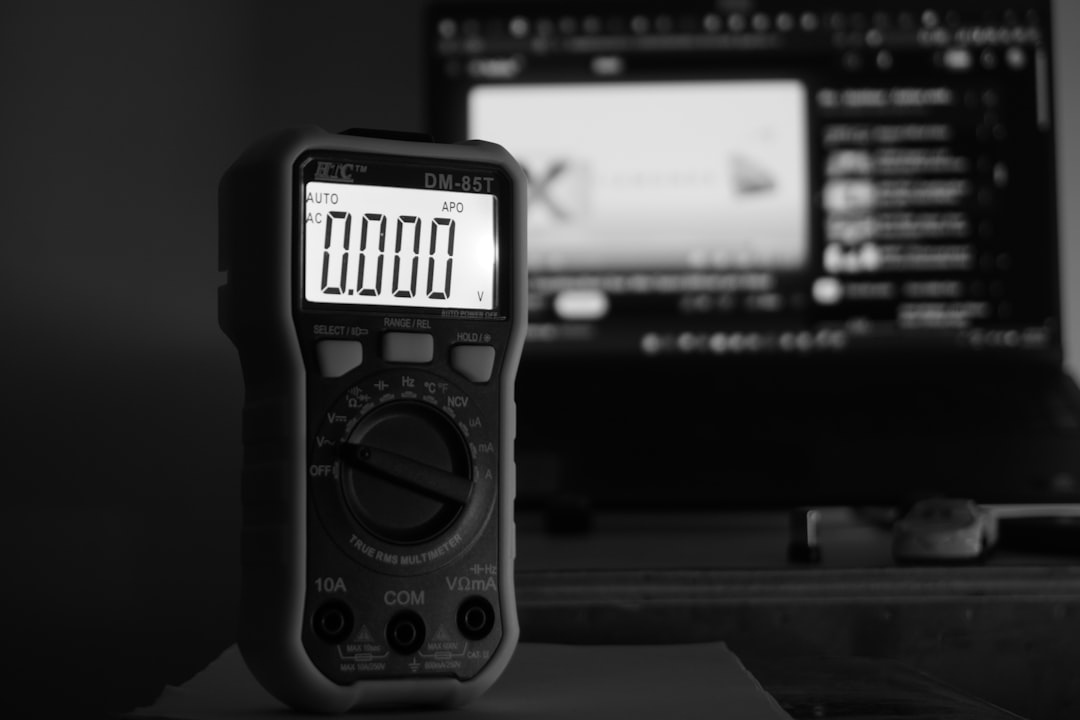
5. Test the Outlet Voltage (Using a Multimeter)
If basic checks don’t solve the issue, you may need to verify that your outlet is delivering proper voltage. This requires a simple tool called a multimeter.
Common Troubleshooting Tools
| Tool | Purpose | Difficulty Level |
|---|---|---|
| Multimeter | Measure electrical voltage from outlet | Moderate |
| Paperclip | Clear needle clogs in Keurig brewer | Easy |
| Screwdriver | Open housing for internal inspection | Advanced |
To test voltage:
- Set the multimeter to AC voltage.
- Insert probes into the outlet slots.
- Confirm it reads approximately 120 volts (in the U.S.).
If the outlet isn’t delivering power consistently, consult an electrician.
6. Examine the Internal Fuse
If your Keurig shows no signs of life — no lights, no sounds, no display — an internal fuse may have blown. This can happen after a power surge.
Warning: Opening your Keurig may void its warranty.
If you’re comfortable with appliance repair:
- Unplug the machine.
- Remove screws from the bottom panel.
- Locate the thermal fuse (usually near the heating element).
- Test it with a multimeter for continuity.
If the fuse is blown, it will need replacement with an identical rated component. If unsure, it’s best to consult a small appliance technician.
7. Look for Mineral Buildup and Clogs
Heavy mineral deposits from hard water can interfere with internal components. While clogs usually affect brewing rather than power, extreme buildup can contribute to system shutdowns.
Descaling Steps:
- Fill the reservoir with equal parts water and white vinegar.
- Run brew cycles without a K-cup.
- Follow with several water-only cycles to rinse.
Regular descaling (every 3–6 months) helps prevent performance issues.
8. Check the Power Button (If Applicable)
Some Keurig models have physical power buttons that can fail over time. If the button feels:
- Loose
- Stuck
- Unresponsive
It may need replacement. In certain cases, debris or residue buildup around the button prevents proper contact. A careful cleaning using compressed air can help.
9. Consider Smart Features or Auto-Off Settings
Newer Keurig models include:
- Auto-off timers
- Energy-saving modes
- Touchscreen sleep settings
If your machine appears off, try tapping the screen or pressing the power button firmly rather than assuming it’s non-functional.
10. Signs It’s Time for Replacement
While many issues are fixable, sometimes replacement is more practical.
Consider a new unit if:
- The machine is over 5–7 years old
- Internal wiring is burned or melted
- Repair costs exceed half the price of a new Keurig
Modern models are often more energy-efficient and may include improved brewing technology.
Prevent Future Power Problems
To avoid dealing with a non-responsive Keurig again, follow these preventive steps:
- Plug the machine directly into a wall outlet instead of a power strip.
- Use a surge protector to guard against power spikes.
- Descale regularly.
- Avoid running multiple brew cycles continuously.
- Keep the machine dry and clean.
Preventive maintenance can easily extend the lifespan of your coffee maker by several years.
When to Call Customer Support
If your Keurig is still under warranty, it’s wise to contact customer support before opening the machine. Many manufacturers offer:
- Free troubleshooting assistance
- Replacement units
- Discounted upgrades
Have your model number and purchase date ready. These are typically located on a label at the bottom of the unit.
Final Thoughts
A Keurig that won’t turn on can be frustrating, especially when caffeine is involved. But in most cases, the issue is minor — from a loose plug to overheating protection. By systematically checking power sources, performing resets, and inspecting common failure points, you can often restore functionality in under an hour.
Instead of immediately assuming the machine is dead, treat it like any other appliance: rule out the simple explanations first. A few careful troubleshooting steps might be all it takes to get your morning brew back on track.
With a little patience and the right approach, your Keurig can be up and running again — no coffee shop trip required.